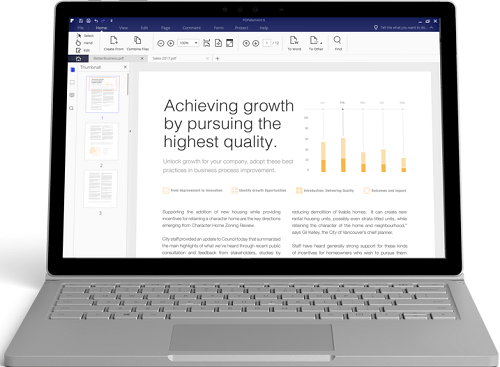
PDFelement - Edit, Annotate, Fill and Sign PDF Documents

JPG is a common type of image file that is used to send images over the internet. It is particularly popular because of the ability to compress the size of images, which helps users balance between the quality and the size of image files. If you have PDF documents with images that you would like to extract and use over the internet, JPG will work perfectly for you. Numerous applications can be used to convert part of PDF files or complete PDF documents to JPG. In this article, we take a look at how you can change PDF to JPG in two easy ways

Wondershare PDFelement is a unique PDF tool that gained popularity due to its multifaceted approach to PDF editing. Apart from document conversion, this application can be used for over a dozen other functions, ranging from simple editing and printing to PDF compression, addition of security restrictions, and manipulation of scanned documents using Optical Character Recognition (OCR).
These tools enable users to customize their documents on a single platform without the need for addition software. PDFelement allows users to add bates numbers, bookmarks, watermarks, digital signatures, passwords, permission restrictions, headers, footers, hyperlinks, and different types of annotations. If you need to black out sensitive text, PDFelement has a convenient redaction tool that helps you to hide text. PDFelement also enables you to merge, split, insert, and replace PDF pages, enabling you to create new PDF files.
When PDFelement launches, there are different ways you can use to convert your documents, though they all have the same output. The simplest way is by selecting the option "Convert PDF" located at the primary window. On the window that comes up, select "Add Files" and select "Add Files" or "Add Folder" on the drop-down menu if you have multiple files to add. Click "Open" when done to upload the file(s).
PDFelement gives you different options to customize the JPG end-product. If you only want to convert specific pages of an uploaded PDF file, click on the sub-menu under "Page Range" next to each file and type in the pages you need to be converted. You can also change the output folder by selecting "Browse" at the bottom of the window.
Once you are satisfied with the settings, click "Convert" to begin. It should take a couple of minutes to complete, but longer if you are converting several large files. Once the conversion is complete, you will get a brief notification, after which you can access your file(s) from the output folder.

If you would rather have a single application for all your PDF conversion tasks, Wondershare PDF Converter Pro should work for you. This application provides a simple platform for converting PDF documents to other file formats and vice versa. Supported file formats include Word, Excel, HTML, EPUB, PowerPoint, and image files, including JPG. The application also comes with OCR that enables users to work with PDF scans.
PDF Converter Pro can be used to convert PDF files with editing restrictions, that is, files that have been protected with a password. You also get a simple interface for converting a batch of files and even combining multiple files into a single PDF file. The application is incredibly fast and stable, which does not affect the quality of the converted images.
Once you launch the program, click the button marked "Add PDF Files" on the start window to upload your file. If you need to upload more files, hold down the Ctrl button while clicking on each different file to upload. Click "Open“ when you are through.
Once the document(s) have been uploaded, head over to the panel on the right and click Advance Setting. In the pop up window, you can select JPG under the Image tab. You can also select pages to convert for each PDF file if you don't want to convert the whole document
Click the button marked "Convert" once you are satisfied to begin conversion. You will see the progress of the conversion next to the file under the tab "Status". Once the conversion is complete, you will receive a pop-up notification indicating that the process is complete. To access the JPG file(s) produced, navigate to the output folder that was indicated on the application window.
Still get confused or have more suggestions? Leave your thoughts to Community Center and we will reply within 24 hours.