PDFelement - Edit, Annotate, Fill and Sign PDF Documents

Get from App Store
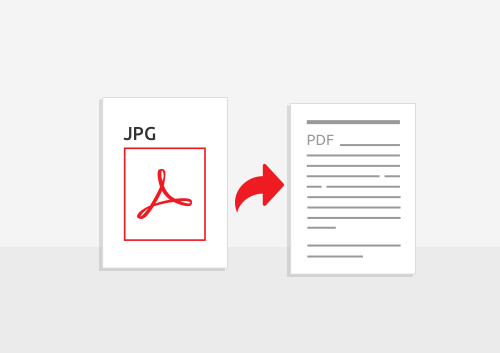
We love it when our bosses or lecturers email hard-to-get reading materials that are useful for our work and assignments. We find it cute when they decide to scan their hard copies so that everyone in the team or class can have their own. However, these scanned documents are usually not editable or searchable.
This is because when you scan a document directly into a PDF file, the program translates texts and graphics as one large graphic image. If you are frustrated by this disability, you will be happy to know that there is a way to resolve this problem. Now I will show you how to edit scanned PDF on Windows 10 in a hassle-free way.

Should you need to edit a scanned PDF file on your Windows 10 computer, it is best to use Wondershare PDFelement for Windows. The OCR technology embedded in PDFelement will increase the usability level of PDF files from scanned paper-based reading materials. Thanks to this plugin, you will be able to change the massive image into individual texts and graphics so that you will be able to highlight texts, insert notes and perform searches on the document.
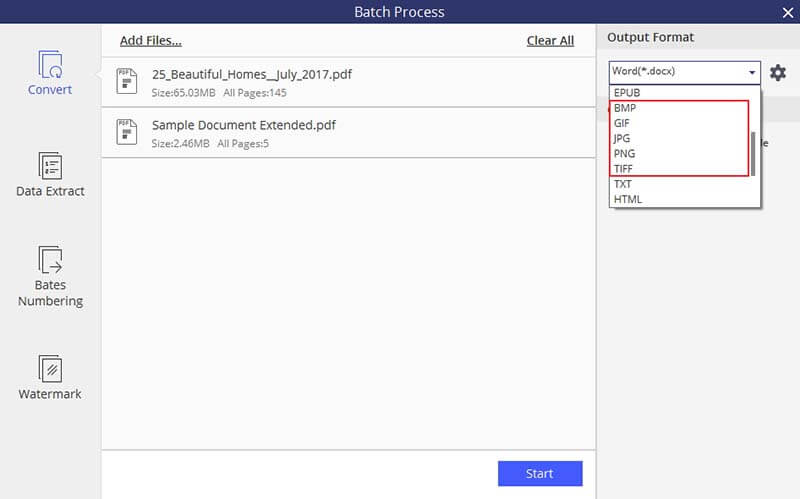
You are able to convert bother standard and scanned PDF files to Word, Excel, Text, PowerPoint, EPUB, HTML, RTF and images formats. If your PDF document is private and confidential, you will be able to secure it with a password to protect people from accessing or make changes on the PDF file.
To edit scanned PDF on Windows 10 computers, install the Wondershare PDFelement for Windows. It is really easy with the help of this software – all you need to do is follow these steps.
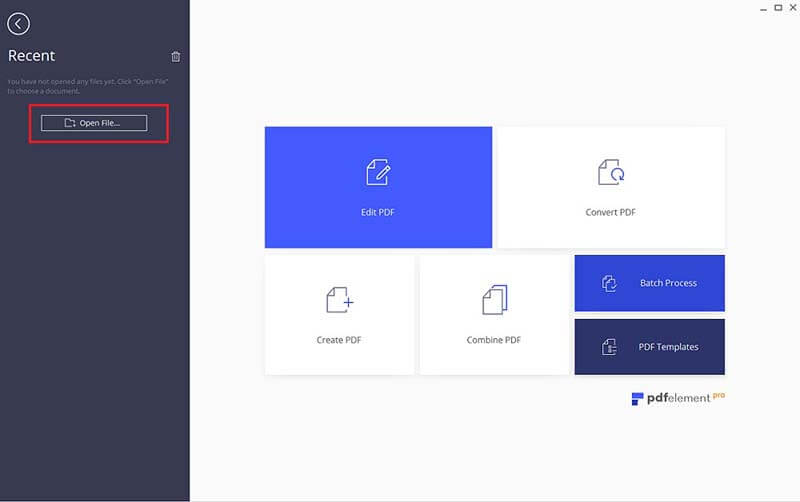
Launch PDFelement. Then on the Home window click on the "Open" button. A pop-up window will appear so that you can choose the scanned PDF file from your local folder. To start uploading the scanned PDF document, click on the "Open" button. You will be able to now see it on the software's interface.
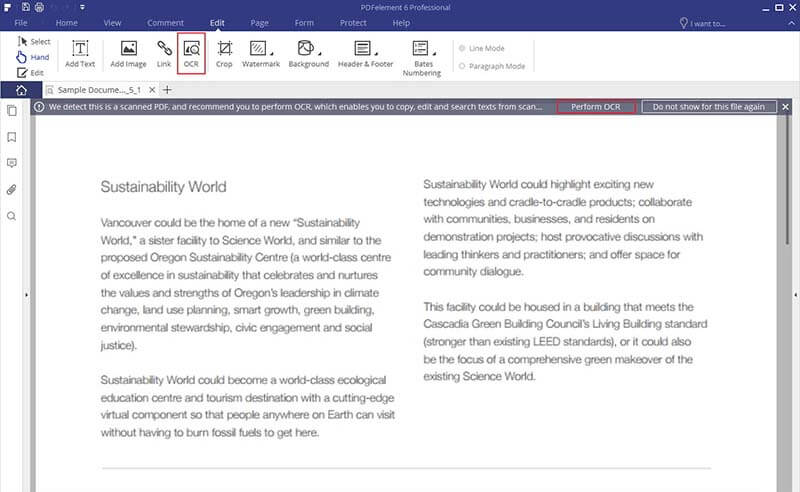
If you have purchased and installed the OCR plug-in, then every time you upload a scanned PDF file the software will prompt you to perform OCR on the document. All you need to do is click the "Perform OCR" function, which will then ask you to select the language of the scanned PDF file. You can also go to "File > Options" to set OCR language under the "OCR" tab.

To start editing the scanned PDF document, open the "Edit" tab. You can now use all the editing tools on the document. You can also use annotating functions housed under the "Comment" tab. This means you can put sticky notes, insert images and shapes, as well as add, delete or edit the texts.
If you want to convert your scanned PDF to other editable formats, you can click the "Convert PDF" button on the Home window, or choose an output format under the "Home" tab.
In the pop-up conversion window, you can load more files by clicking the "Add Files" button, then choose a format for your document. The most important thing is tick the Enable OCR option. Finally click the "Convert" button to turn your scanned PDF into editable file.

Still get confused or have more suggestions? Leave your thoughts to Community Center and we will reply within 24 hours.