PDFelement - Edit, Annotate, Fill and Sign PDF Documents

Get from App Store
Adding watermarks to PDF file is one way of personalizing them. The watermarks prevent an unauthorized person from sharing your files or owning them. To add on, watermarks can show if the document is confidential or not. Moreover, adding the watermarks is easy provided you have the right tool at hand. In this article, we will tell you how to add watermark to PDF.

When you think of adding watermarks to a PDF file, think of Wondershare PDFelement. It is a PDF software that is designed to create, edit, convert and annotate PDF files. With it, you can add customized watermarks to every page of your PDF, add stamps, add a signature and also get rid of the watermarks when they are not in need. In addition,
Before we learn how to add watermarks using this tool, you need to download and install it first.
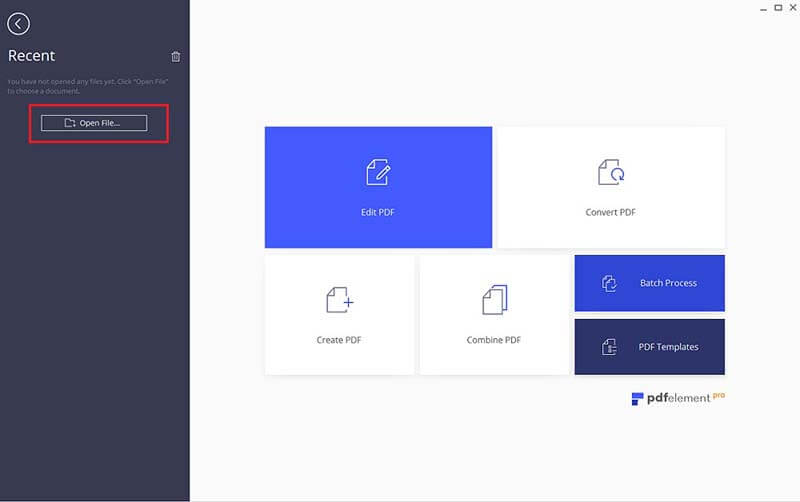
After installing PDFelement, open it. Click on the "Open" button on the Home window and it will direct you to your local folder. Select the PDF file you want to add watermarks and then click "Open" button.
For PDFelement for Mac, you will find the "Open File" button on the bottom right. Click on it and choose a PDF file. After that, open with it with the program.
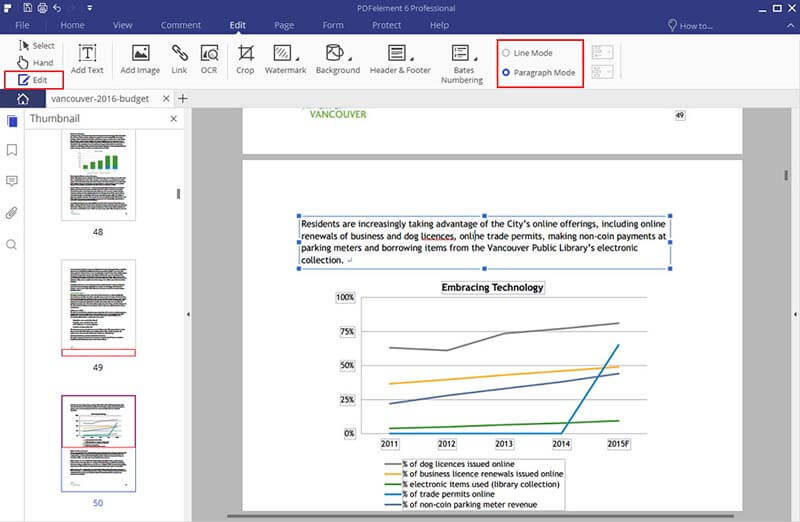
To edit PDF using PDFelement for Windows is super easy. Click on the "Edit" tab on the toolbar. Then click on "Edit Text", move on to the text field, and double-click on it to begin editing. To add texts, go to "Edit > Add Texts". Draw a text box on the page you want to add the texts and type in the content.
On Mac, you need to click the "Edit" button on the top toolbar. To modify texts, double click on the text block to start editing. To add text, click the "Add Text" button and use your mouse to draw a text box anywhere you want.
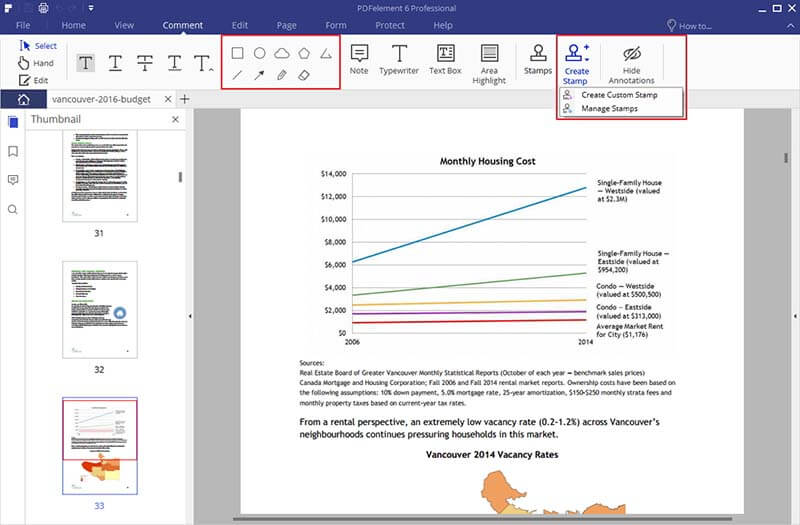
On Windows platform, click on the "Page" tab and then click the "Watermark" button to get three options: "New Watermark", "Update Watermark", and "Remove Watermark". Click on "New Watermark" to choose either to use text watermark or image watermark. From there do some settings, adjust position and also provide a page range to add the watermark. After save it and it will be applied on the pages defined.
For Mac users, go to the right side "Watermark" menu. Click on it to get the "Add" option. It then gives you an option of text, image and PDF watermark. Choose the preferred option and follow the prompts. Then select the font style, font size and font colour. Next define the page range to apply the watermark and its position. After that save the changes made and it will be applied on the file.

Still get confused or have more suggestions? Leave your thoughts to Community Center and we will reply within 24 hours.