PDFelement - Edit, Annotate, Fill and Sign PDF Documents

Get from App Store
When you insert watermark on your PDF document it helps to prevent counterfeiting of document. Therefore, if you have a document that you want to personalize it is important that you add watermarks. What if you have a document that has several pages will you add watermark page by page? No, this article shows you how to batch watermark PDF on Mac document using powerful watermark tool.

There are various tools that you can use to add watermarks to PDF tools but nothing beats Wondershare PDFelement for Mac. This software is built with a watermark tool. This watermark allows you to perform batch watermark on your PDF. Wondershare PDFelement for Mac is an easy to use software that is compatible with Mac operating systems which are macOS Sierra, El Capitan, Yosemite, Mountain Lion and Lion.
Features of Wondershare PDFelement for Mac:
Launch this software under Applications on your mac. When you open it you will see a simplified interface with "Open File" button at the lower right. Click on it and select the PDF file to batch watermark. You can also click on "File" and then select the "Open" button. If you had open the file before, you will see it listed on "Recent Documents" of the right side of the Home window.
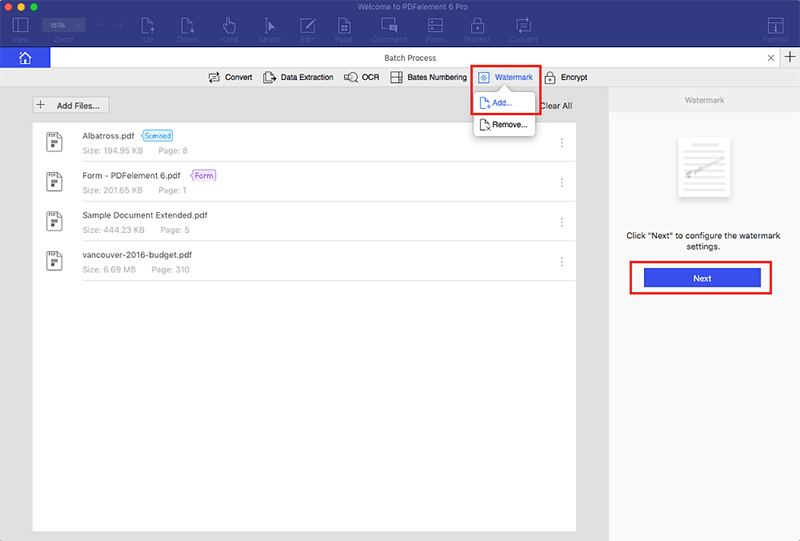
On the new window, you will be able to perform a number of tasks such as editing. But since you want to add watermark just navigate the cursor to the right hand side and click on "Watermark". From there select "Batch Add".

A window will appear choose the kind of watermark you want. You can use texts, images or a PDF. For texts enter the texts you want such as "Personal". You can change the font size, colour and angle of watermark. The next option is image. Click on it and you will be able to upload an image. Before saving it you can rotate the image watermark to angle you want. You can also adjust its opacity. You can also use PDF as batch watermark. Click on PDF option. Then enter the page from PDF that you want to use the watermark.
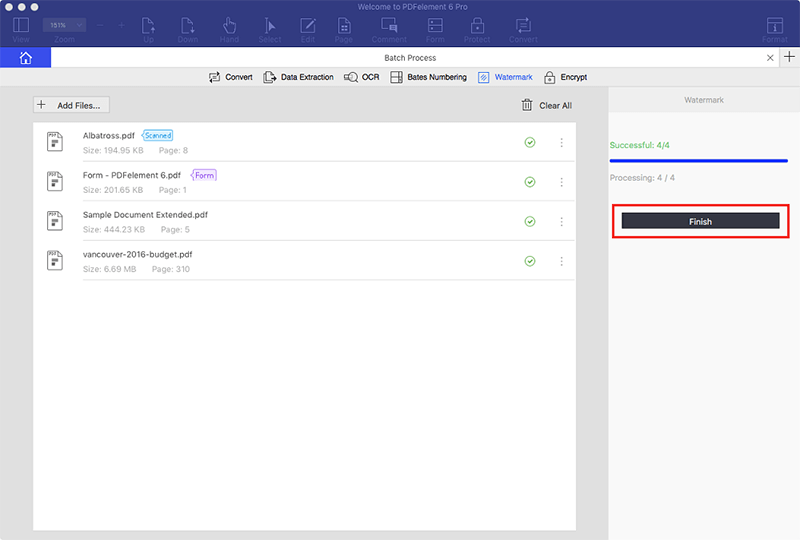
After adding the watermark, click on "Next" and a new window will appear. Here you can upload other files or folders to add the watermark. This window also allows you to choose output settings where you will save the document. You can keep original file name of your PDF document. From there you can now click "OK" and save your file.

Still get confused or have more suggestions? Leave your thoughts to Community Center and we will reply within 24 hours.