PDFelement - Edit, Annotate, Fill and Sign PDF Documents

Get from App Store
Do you have a scanned PDF file that you want to change its DPI? DPI is an acronym for dots per inch and the resolution of an image. The size of DPI affects the size of a PDF. Therefore if you want to reduce the file size of your PDF file, you have to adjust its DPI. The bad news is that not all PDF software has this functionality. The good news is that there is an outstanding PDF software that is built with DPI adjustment feature for scanned PDF files. In this article, we will tell you how to change DPI for OCR PDF on Mac.
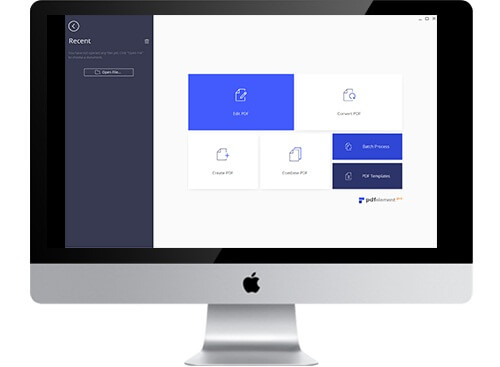
When you want to change DPI of OCR PDF, then you need to look for Wondershare PDFelement for Mac. This software offers lots of DPI options, including 72 dpi, 150 dpi, 300 dpi, and dpi 600 etc. Besides, you can also select the page range that you want to convert and also choose a number of languages that you need to OCR your PDF file. Other than performing OCR on scanned PDF files, PDFelement can also perform other functions:
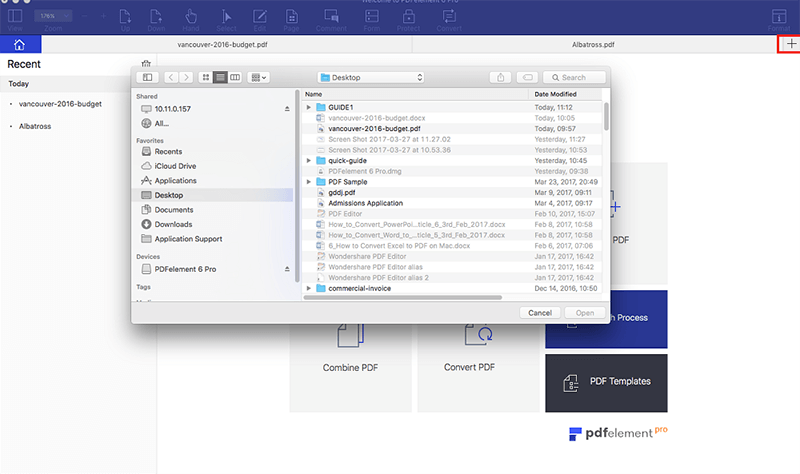
Install Wondershare PDFelement and then launch the program on your Mac. On the Home window, click the "Open File" button. You can also click on "File > Open" so that you can choose scanned PDF file and then open with the program.
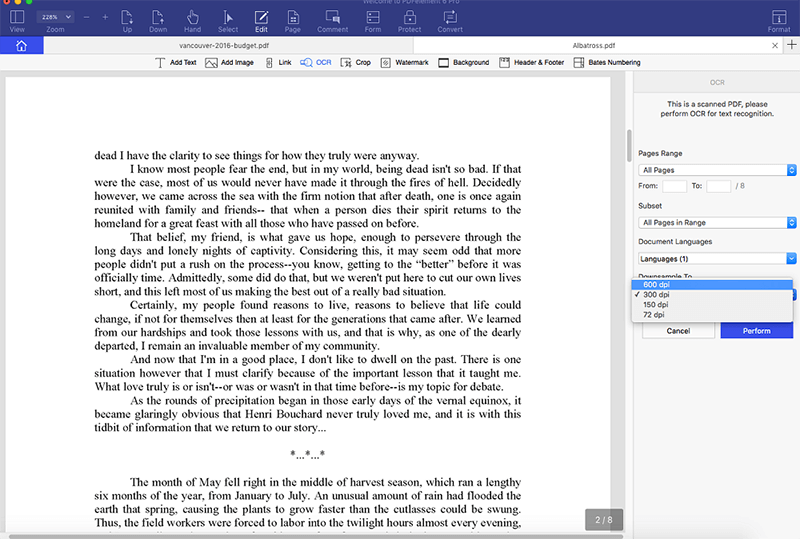
Once your scanned PDF is displayed on the program window, you will see a highlighted field at the top that informs you that you need to perform OCR. Click on the "Perform OCR" button. You can also click on "OCR" button at the top right next to "Convert" button.
A small window will appear with page range, OCR language and DPI options. Scroll down to "Downsample To" to change the DPI of PDF file. The program will display the current DPI of your file. Click on the "Arrow-Down" button to and click on the preferred DPI. After that click on "Perform OCR". The program will display the progress on the screen immediately.
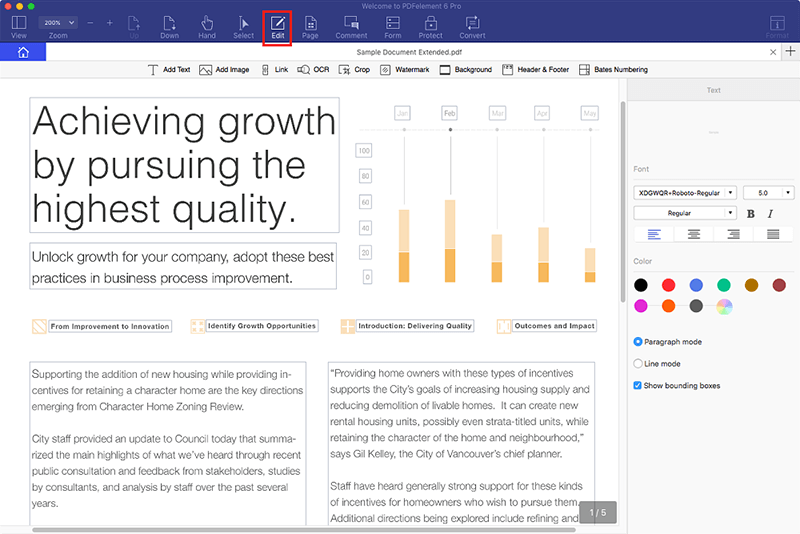
After you have changed DPI and performed OCR on your PDF file, you can now edit your PDF file. On the program window, navigate to the mid of the toolbar and click on the "Edit" button. Then move to the text field and double click on it. You will be able to change texts, font style, font color and alignment of texts.
Under the "Edit" button you will also add text and images using options on the submenu.

Still get confused or have more suggestions? Leave your thoughts to Community Center and we will reply within 24 hours.