PDFelement - Edit, Annotate, Fill and Sign PDF Documents

Get from App Store
A Portable Document Format or the PDF file may contain text, images even the charts. When a PDF file is opened on your Mac OS X, you can only read the file or some highlight it and there is no native way of editing the PDF file. Similarly, there is no way of creating the PDF file from different images or documents in Windows or Mac OS X. In order to do this task, you will need a third party PDF creator and editor. While editing the PDF file, you may need to crop PDF image, and you can't do that unless you have a professional level PDF editor.

Wondershare PDFelement for Mac will not only let you create the PDF files from different images or text, you can also edit the already present PDF files in the program. So, if you are adding different images in the PDF file and want to adjust them on a single page, you can use the crop option to remove the sides of the images. Similarly, if you already have a PDF file and want to adjust image in that, Wondershare PDFelement for Mac will also help you with that.
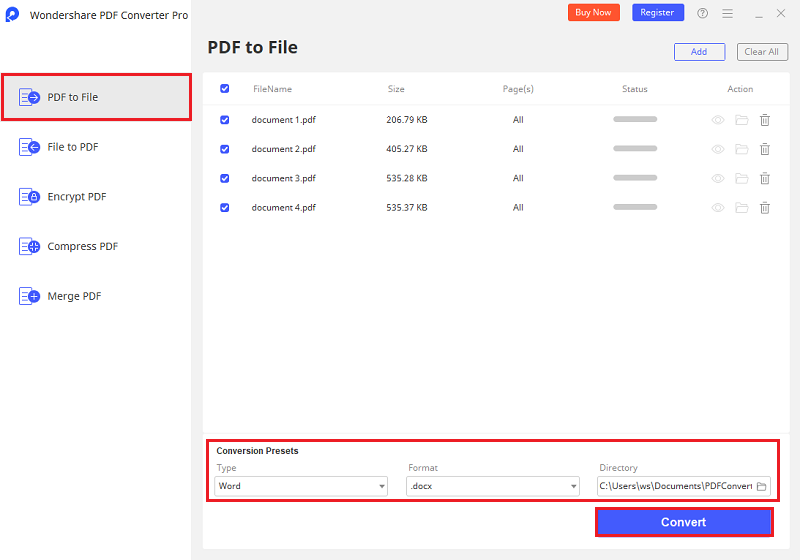
In the mean time, Wondershare PDFelement for Mac will let you convert the PDF file to documents in different formats. Users can also replace, extract, delete or rotate PDF pages in a PDF file. Moreover, it also provides the best reading experience for your PDF file, you can read the PDF file, mark the text or add a comment to the text in the PDF file. Also, the price is very reasonable and it provides the professional features such as OCR at that price.
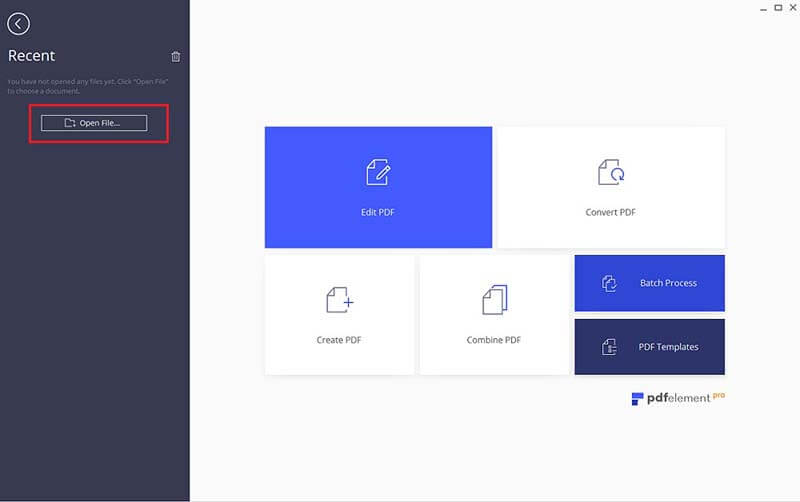
Click on the Launchpad on your Mac and launch Wondershare PDFelement for Mac. Once the program is opened, click on the "Open File" button and load the PDF file that you want to modify.
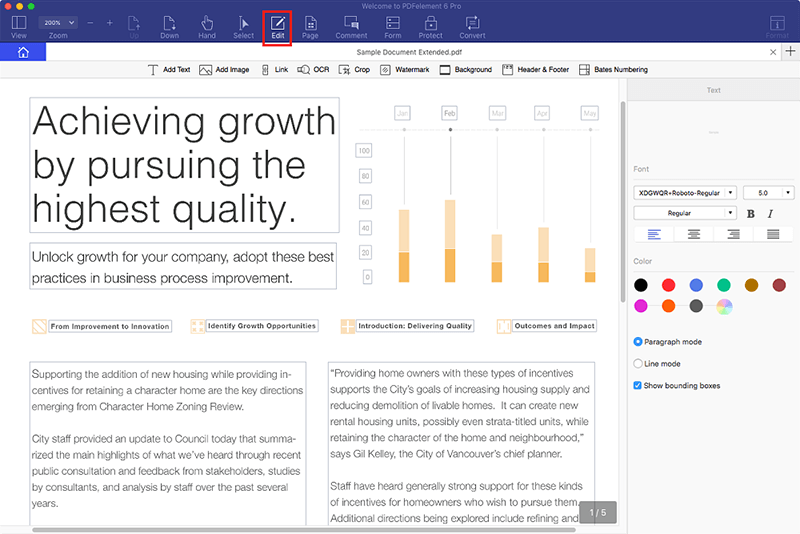
After loading the PDF file, the first thing that you need to do is to enable the editing of the PDF file. Click on the "Edit" button as shown in the screenshot below.
Now, go to the image that you want to crop and double click on that image. Double clicking on the image will open all the options to edit the image. You will see "Replace", "Extract", "Crop", and "Rotate". In some Mac OS X, you will need to touch the trackpad with two fingers to reveal these options.
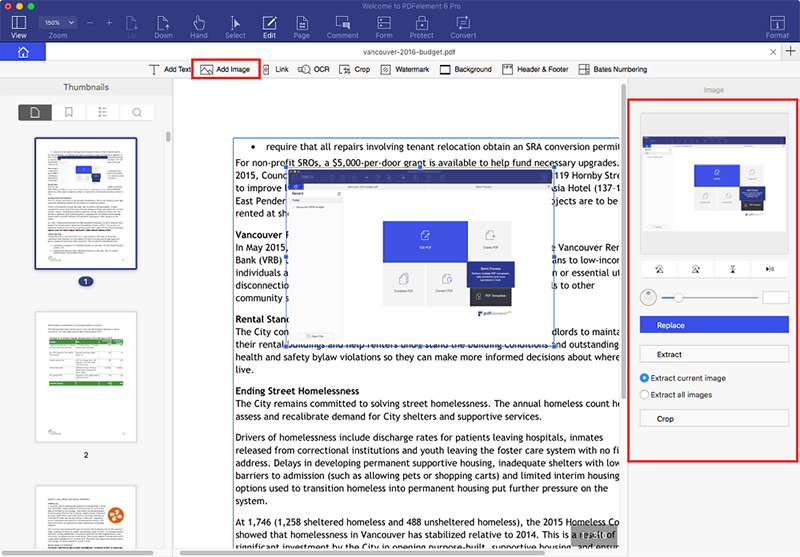
Click on "Crop" and it will open the image in a separate dialogue box. In this dialogue box, you can select the specific portion of the image that you want to crop. The remaining image will be automatically deleted. Once you have selected the specific portion, click on "Crop".
That's it! The image will be cropped and you will clearly see the decrease in the image size.
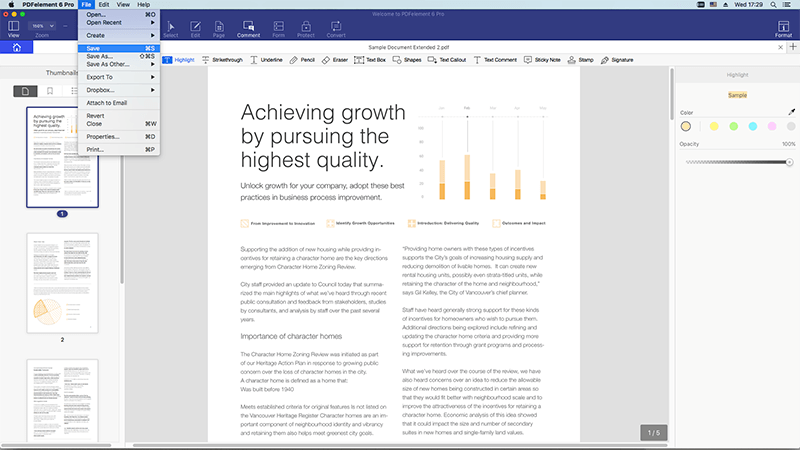
Once you have cropped the image, you need to save the PDF file to apply this cropping settings permanently. Click on the "File" tab in the top bar and select "Save As" to save this file.

Still get confused or have more suggestions? Leave your thoughts to Community Center and we will reply within 24 hours.