PDFelement - Edit, Annotate, Fill and Sign PDF Documents

Get from App Store
Scanned PDF documents are some of the most unpleasant file types to work with. This is because if you scan a document and save it directly in a PDF format, all text, diagrams, graphics and images are merged into a large image file. Therefore, it is difficult to read and edit the file if you do not have the right tool for it. If you want to make a scanned document easier to work with, you will need to deconstruct the large image into manageable elements in the document. This means that everything in the document is selectable and accessible. Now let's learn how to edit a scanned PDF document.

The best scanned PDF editing tool I have used is Wondershare PDFelement. It is important to note that it is not a one-trick pony. PDFelement is able to edit, convert, create, protect, sign and print your PDF files, as well as complete PDF forms without the need to print them out.
Wondershare PDFelement's OCR plugin is really useful to have. It does a great job retaining the appearance of the document while converting it into a readable, editable and searchable PDF file. It supports a wide range of languages (e.g. English, Korean, Italian, Bahasa Indonesia, French, German, Russian, Czech, Turkish, Arabic, Portuguese etc.) which means you can use this no matter what language you use.
The OCR technology may sounds scary, but it is really easy to use with Wondershare PDFelement. Here is how:
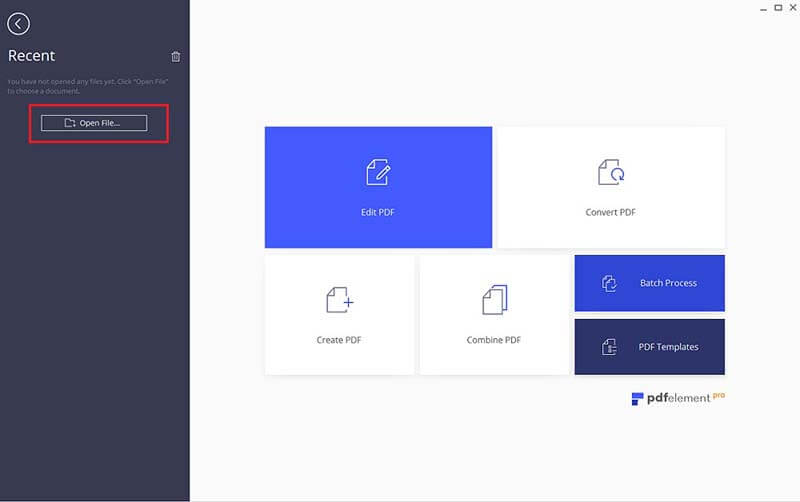
Launch Wondershare PDFelemet and click the "Open" button located in the bottom left corner of the window. Select the file that you want and click "Open" to upload your file into the software.
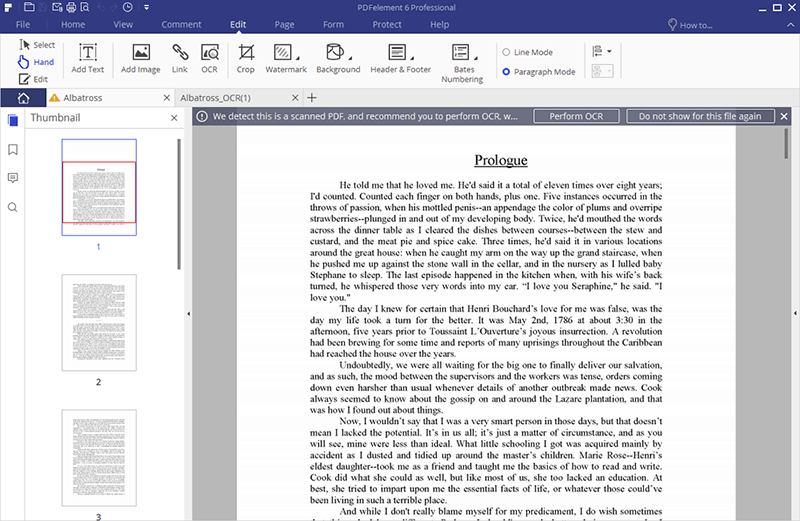
A pop-up message will appear to remind you to perform OCR on the scanned PDF file. Click the "Perform OCR" button and the software will ask you to choose the language source of the PDF file to assist it with recognising the text.
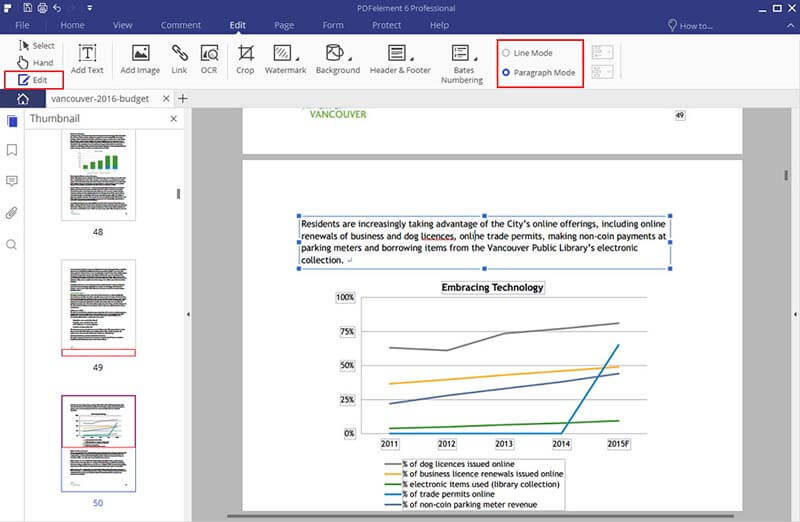
Once OCR has completed its job, you will be able to edit the PDF file accordingly. Open the "Edit" ribbon to see the range of edits you can do to your scanned PDF file.
Modify the texts on your PDF by clicking "Edit Text". Click anywhere on the document to add, delete or change the existing text. Add a new set of texts by clicking on the "Add Text" button.
Click "Edit Objects" to edit images and diagrams. You can delete the object by right-clicking it and choose the "Delete" option. You can also cut or copy objects using this step. Select the object to reposition it around your document. To add a new image file on the document, click the "Add Image" button.
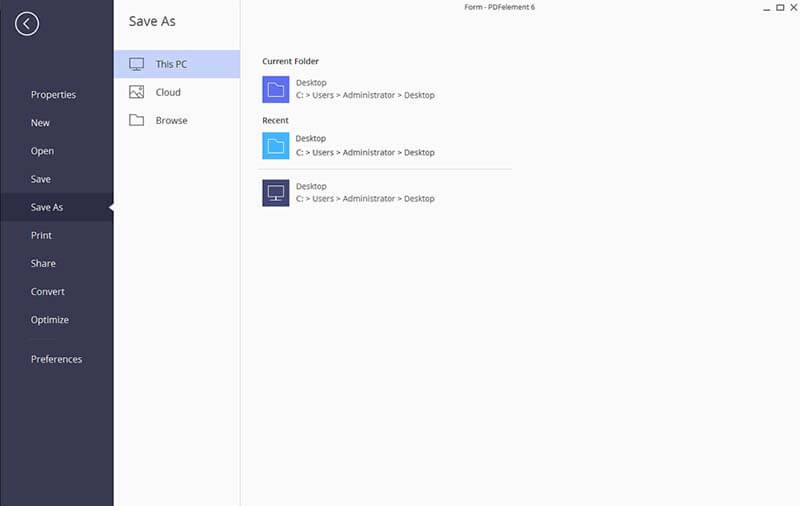
At any point of editing, remember to perform "Ctrl + S" to make sure your work is saved. Once you are happy with it, go to "File" and open the "Save as" option. Choose the destination folder and end the process with the "Save" button.

Still get confused or have more suggestions? Leave your thoughts to Community Center and we will reply within 24 hours.