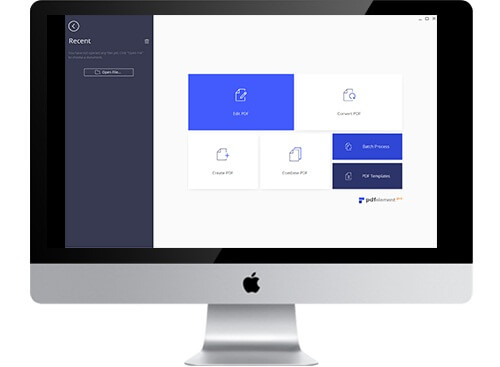
PDFelement - Edit, Annotate, Fill and Sign PDF Documents

Natively, the preview application on the Mac OS X will let you add text to the PDF forms, however, it will not let you edit PDF form on Mac. In order to resolve this issue, you will need a PDF form editor for Mac OS X which must have all the missing features of Preview application. Normally, the forms are not editable PDF forms, so, a good PDF form Editor should turn this non-editable PDF form to the editable PDF Form. So, you can add text, interactive fields, radio buttons or dropdown to the PDF forms. Here’s the detailed guide on how to edit a PDF form on Mac OS X.
Wondershare PDFelement for Mac, just like its name is a complete solution for the PDF files which works equally well for the PDF forms. You can import the already existing forms to the software and can fill out the interactive fields or can edit the text present in the forms. The best feature is the presence of OCR which is very useful for all those users who have scanned the forms.

Normally, the scanned forms will be saved in the form of images, using this tool, you can convert such scanned images to editable text and fill them using the same program. Moreover, the annotating features will let you highlight any field or add a comment on the PDF form. Lastly, you can even sign the forms, stamp them or convert them to Word, HTML or plenty of other formats. The major features of PDFelement for Mac includes:
The first step is to import the PDF forms to PDFelement for Mac. There are two ways of importing the PDF files.
Once the form is imported, you can edit the PDF forms in two possible ways or you can create a blank form.
Normally, the PDF forms already have the interactive fields that can be filled in PDFelement, once the file is opened, you will see a green bar on top of the screen named "Highlight Fields". This means the form has fields you can fill and edit.
You can move the cursor to a particular field and fill it using the text that you want to add. You can edit the form as you like. Similarly, you can also select different options. If you want to sign this form, click on the "Markup" button and select a stamp to add to the form.
Instead of using the "Form" tab, you will need to click on the "Edit" tab to add text on the PDF file. Once you have clicked on the "Edit" button, it will show a new ribbon on the screen. Now, click on the "Add Text" button as shown on the screen.
Finally, click on the field where you want to add the text and start writing, you can adjust the styling of text or size of the text box.
If you don't want to use the template or don' have the PDF form, you can create one PDF form. First of all, you will have to add the blank page in the PDF file.
Click on the "File" button and select "Create > Create from Blank Page". On the next screen, write down the name of the form and save it on your computer.
Now, you will have to add different "Text Fields", "Check Box", "Dropdown" menu, "Radio Button", "List Box" or Buttons. Click on the "Forms" button on the screen and a new bar will be added to the screen where you can add all such buttons and text fields.
If you have scanned a form, this method can be used to edit the form in the PDFelement. Before you start editing, you will need to perform OCR on such form.
After you have upload your scanned PDF form into the program, it will automatically detect this is a scanned PDF and will display a yellow bar with a "Perform OCR" button. Click on it. Once the form is converted to editable text, here is how you can edit scanned PDF form. You can edit any text in the form.
Once the form is created, you can even edit the properties of the Form. Click on the "Form" menu and click on any field, you will see there are multiple properties you can change on the right side. It will let you edit the PDF form from "Align, Distribute, Edit Fields, Other Tasks" of the PDF form. After changing the Properties of form, you can save the PDF form by clicking "Command + S".
If you are Windows users, here is a guide on how to edit PDF forms on Windows.
Still get confused or have more suggestions? Leave your thoughts to Community Center and we will reply within 24 hours.