PDFelement - Edit, Annotate, Fill and Sign PDF Documents

PDF files are one of the most popular forms of digital documents. They can be easily accessed across different hardware devices and software platforms. And with the right tools, you can perform most of the editing tasks associated with physical documents, including creating markups on important content. In this article, I will tell you how to markup PDF with the help of the best PDF markup tool.

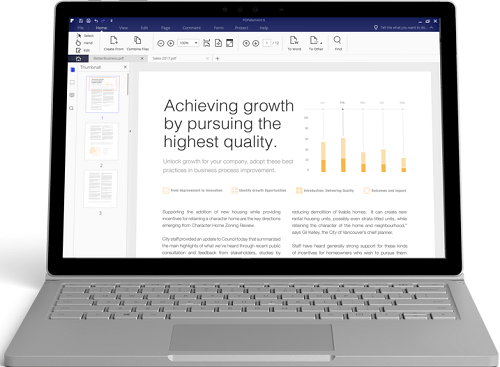
Wondershare PDFelement has become a popular choice for people looking for simple but effective ways to handle their PDF documents. It is useful for PDF text, image and page editing and annotating at basic and advanced levels. With its OCR, even scanned PDF files can be easily edited. PDFelement lets you add sticky note, comment box to your document, highlight and draw free markup to put emphasis on specific sections.
In addition to markups, PDFelement enables users to add security features for their PDF documents. Passwords, watermarks, redaction and digital signatures are some of the security features that can be inserted using PDFelement. With it, you can also convert Word, Excel, PowerPoint, and image files into PDF format and vice versa at the touch of a button.
By default, PDFelement launches into the Home window where users get the chance to upload a document for editing. In this case, press the "Open" button at the bottom, select the file you want to markup, and load it up.
On Mac, you can click the "Open" File button to import the PDF that you want to markup.
Once the document is loaded onto the work area, navigate to the "Comment" tab and click it to reveal more features. On the second submenu box, you will see multiple buttons with different functions, including Notes, Text addition, and the Highlight features. Choose the tool you need to markup your document.
If you are using the Mac version of PDFelement, you can click the "Markup" button on the toolbar to access the markup options. The Highlight button should be located to the top right of the interface.
Once you have marked all the text as needed, click the "File" button at the top and select "Save As" to make the changes permanent. Once the document is saved, you can freely edit the document further using other features of the application.
Still get confused or have more suggestions? Leave your thoughts to Community Center and we will reply within 24 hours.