PDFelement - Edit, Annotate, Fill and Sign PDF Documents

Apple has made a point in recent years to always offer a public beta of their operating system, in a way for fans who are interested in upgrading their OS to test the upcoming software. This policy is essential for Mac users who provide real life feedback to Apple developers. Since unveiling macOS Sierra in June at the WWDC 2016, Apple has released several public betas, and they are all free of charge. Downloading and installing the new operating system is not an overly complicated process, but we are happy to help you and walk you through. Let's go!
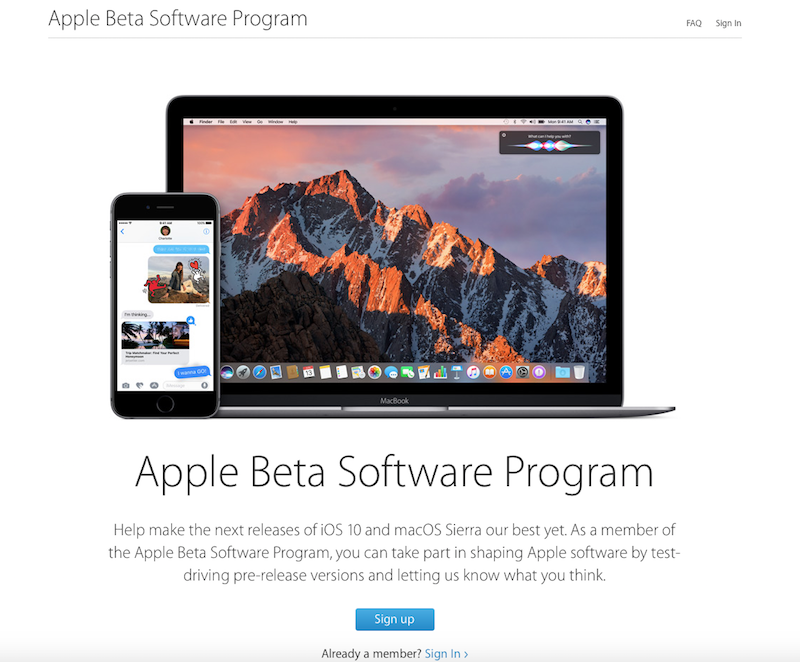
Your first step towards trying the new macOS Sierra is signing up for the public beta program. To do that, you need to head over to the website for the public beta (type beta.apple.com in Safari) and enter your Apple ID and password to sign up. You should be accepted for the public beta quickly, and once you are accepted, you are ready to upgrade your operating system to Sierra.
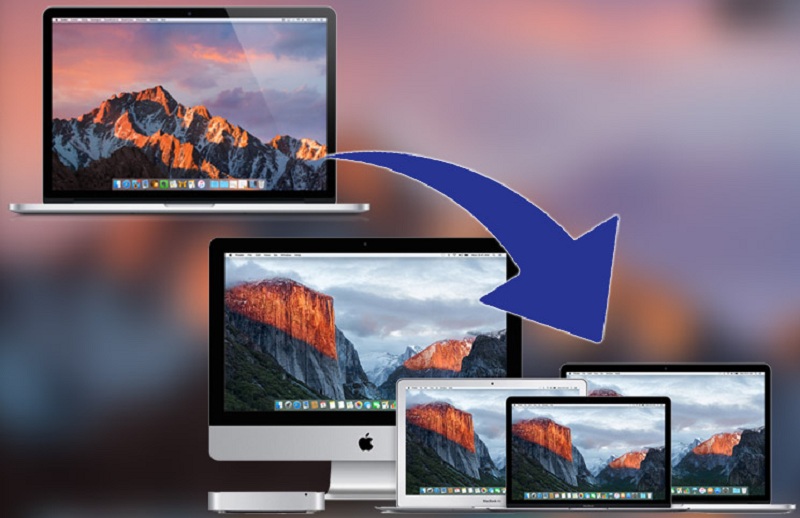
The next step you need to make is preparing your Mac for upgrading to Sierra. Apple has yet to release info how much space Sierra will require, but judging by past experience, you'll need at least 8GB. El Capitan took 8GB, so we expect Sierra to take at least 10GB. Even if you have used time machine previously, you need to make a backup now, to make sure all your data is saved.
Time Machine makes a backup of your Mac once a month, but you need one now. Connect an external drive via USB port to your Mac, and you'll see a pop-up window asking if you want to use the drive as a backup for your Mac. Click "Yes", and Time Machine will do the rest.
To download the new public beta, you need to go to the Mac App Store. There, you will be required to enter a special code (redeem code, promo code, call it how you like). You will get this code when you sign up for the public beta, so don't worry, you'll have it. When you click to begin the process, the code is entered automatically.
We assume you are at the beta.apple.com website, and then click on Mac OS tab. Click "Download the Mac OS Sierra Public Beta". Mac App Store will open, and you'll probably need to log in. If the process doesn't start automatically, you need to do it manually:
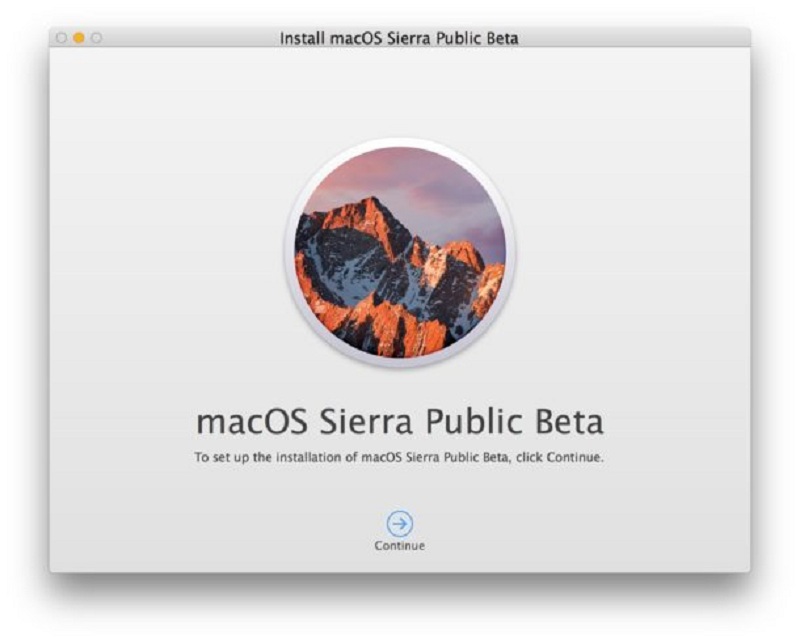
In any way, if it doesn't start automatically, you'll need to do it manually. For manual install, follow these steps:
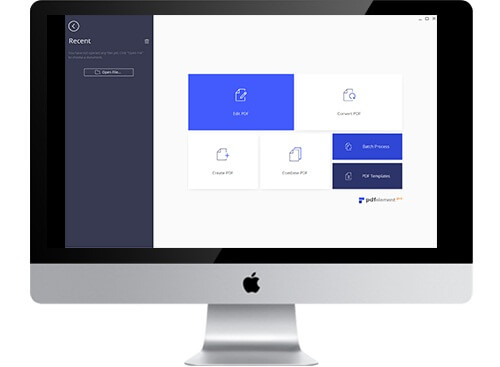
A huge aspect of the Apple Mac experience is PDF documents. For that matter, we have tried several PDF converters and chose the best one for you. We can safely say that Wondershare PDFelement for Mac is the best PDF converter, one that will help you with everything PDF related. If you need to edit PDF documents, the converter will help you do that with ease.
You can also copy parts from one PDF document to another, or even merge several documents, no matter if they are PDF or not. Converting PDF documents to another type document, or vice versa is done in a matter of seconds. Last but not least, WonderShare PDFelement for Mac helps you digitally sign your documents and encrypt them with a special password.
Still get confused or have more suggestions? Leave your thoughts to Community Center and we will reply within 24 hours.