PDFelement - Edit, Annotate, Fill and Sign PDF Documents

Get from App Store
Optimized Storage is an application that Apple introduced in Yosemite. Last year's operating system, Mac OS El Capitan removed the feature, and Apple fans were rightfully irritated. Now, after understanding that users can easily fill up their hard drives with enormous amount of files, Apple is bringing the feature back into the macOS Sierra.
Think of Optimized Storage as an instant space on your hard drive. The feature takes all your files you haven't used for a while, and stores them into iCloud. You can always download the file back to your hard drive if you wish to. The four main aspects of Optimized Storage include storing files in iCloud, empty your trash automatically, optimize the storage on your hard drive, and reduce the clutter. How to use this new feature? Here in this article we offer you a step-by-step guide.

First and foremost, you need to access Optimized Storage. There are two ways to do that, and the first one is rather simply. Do nothing! Once your storage is full, your operating system will ask you to optimize the storage. Once you click yes, you'll be taken to the tool. The second way is to access Optimized Storage manually. To do so, you need on the click on the Apple icon located in the top left corner. From the dropdown menu, select "About this Mac". Once you are in the System information window, click on "Storage", and then on "Details". This action will open the Optimized Storage feature with all four options.
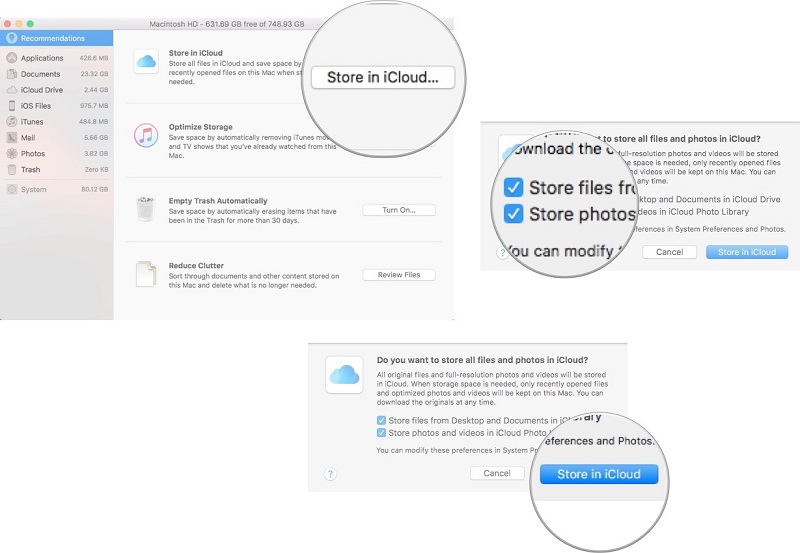
That being said, let's talk how to store your files in iCloud using Optimized Storage. This option will store all your files that you haven't used (documents, photos, videos, music files, and everything in between) in the cloud. This way, your iCloud serves as a long-term storage for all your data files. If you have photos and videos that you want to keep in full resolution, iCloud is the way to go. You have the power to choose which files you want stored. After you've entered the Optimized Storage tool, click the "Store in iCloud" option. You can tick the box for "Store files from desktop and documents in iCloud Drive". Ticking this box will store ALL files from your documents folder and desktop to the cloud. Another option is the box "store photos and videos in iCloud Photo Library". This option will store all original photos and videos. You need to enable the iCloud features.
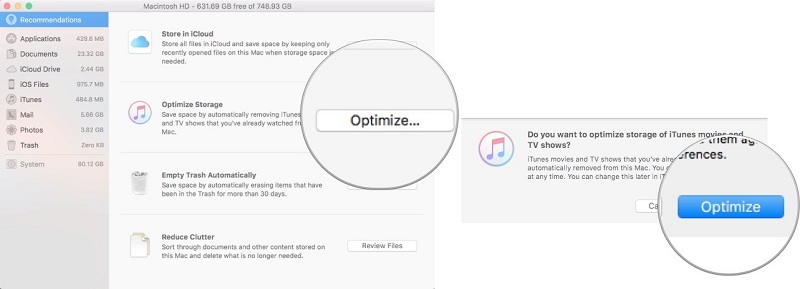
A more convenient way to use optimized storage is option "optimize storage". This option was presented by Apple officials during the WWDC 2016 event. Clicking this option will store all media that hasn't been used in a while (watched movies, watched shows, songs that you have listened from iTunes). Once you click the option, all associated files will be removed from your computer, and stored in the cloud. You can also choose to remove email attachments. Using this option is rather simple, as you just need to click Optimize. You will be asked to confirm if you want to optimize songs and videos from iTunes. Click optimize to confirm, and the feature will automatically remove movies, shows and music from your hard drive.
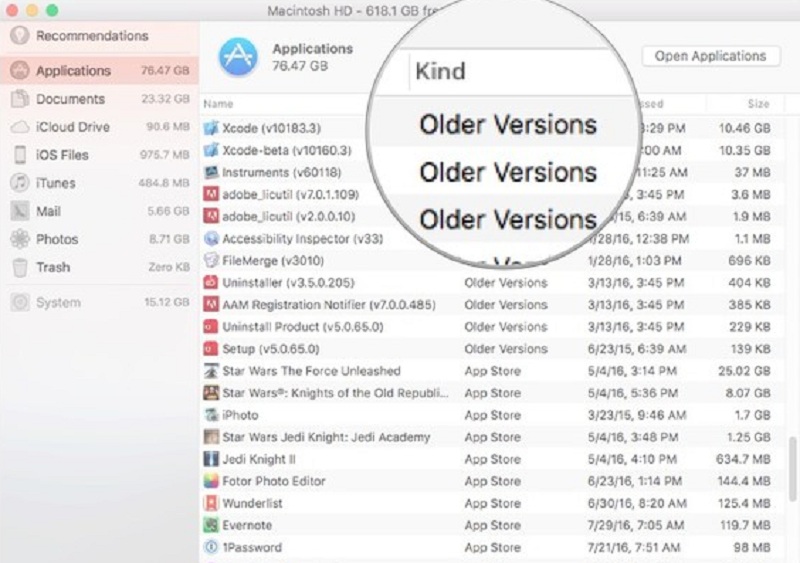
Unlike other options in Optimized Storage, reducing clutter requires a bit of a manual work. As in, you will have to manually clean files. Once you click the option, you will see a list of categories on the left side. Each list is folder that can store files. You can "review files", or simply select a folder from the list. You can go through the files in the folder individually, and select which one to keep, and which one to remove. For example, go to the apps folder, and view apps by type. More often than not, older versions of applications that you use can eat up your hard drive space. Delete them by using reduce clutter.
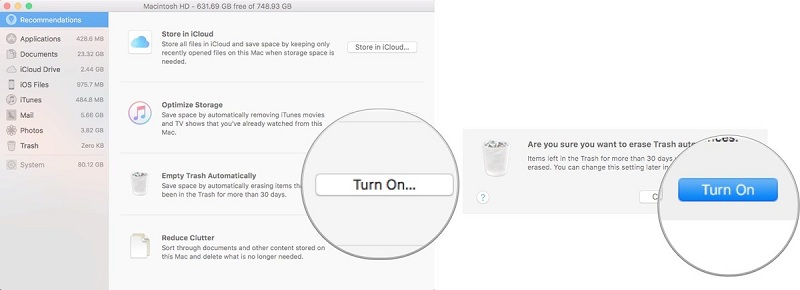
Last but not least, Optimized Storage allows you to empty trash automatically. Average computer users forget to empty the trash. And as your garbage can in the home, the bin on your computer adds up space. The difference is the trash bin doesn't get full. But all files in the can take up space. Using optimized storage, you can set up your macOS Sierra to remove trash automatically, every 30 days. In the optimized storage window, click "turn on" for empty trash automatically. You will be asked to confirm, and enabling the feature will remove files that have stayed in the trash bin for more than 30 days.
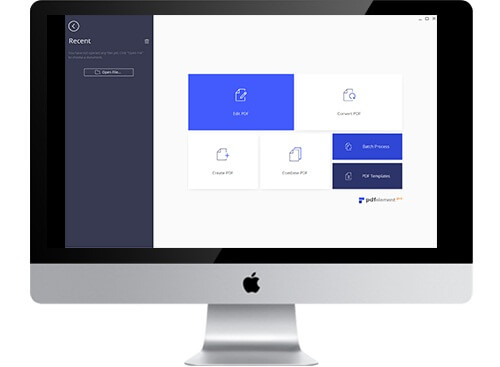
PDF documents are files that can also take up a load of space on your Mac computer. We told you how to optimize storage, but now we want to share with you a PDF editor that will help you improve your PDF experience. We are talking about Wondershare PDFelement for Mac, a PDF editor that allows you convert PDF documents into any other document, or other documents into PDF with ease. You can also edit PDF documents, extract sections from one to another, merge documents and much more.
One of the most commonly used features of the editor is the ability to digitally sign PDF documents. In the business world, it happens often that you are not in the office, and you need to sign and send a PDF document. Instead of waiting to come back to the office, print the document, sign, scan and then send, you can use Wondershare PDFelement for Mac to digitally sign the document and send it back instantly.

Still get confused or have more suggestions? Leave your thoughts to Community Center and we will reply within 24 hours.