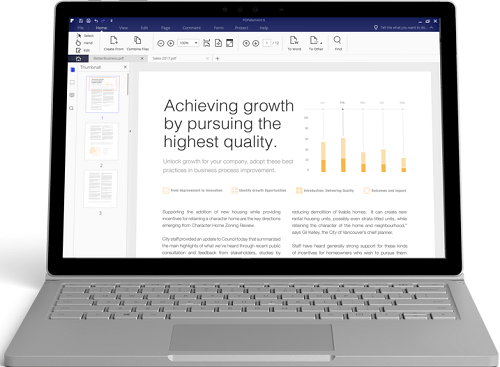
PDFelement - Edit, Annotate, Fill and Sign PDF Documents

PDF conversion has become a standard procedure for students, businesses, and individual users dealing with digital documents. Users often need to convert PDF files to Office documents such as Word and Excel, image files, and HTML pages and vice versa. This has opened up the development space for both online and standalone PDF converters. The sheer number of these converters predisposes users to a wide spectrum of quality levels. While some work perfectly (and sometimes freely), others leave a lot to be desired when it comes to PDF conversion.
Sampling through the tons of options available can be tedious and time-consuming. In this article, we help you navigate through the options by looking at two capable converters, Smart PDF Converter and a better PDF solution.
Both PDF conversion solutions provided by Smart and Wondershare result in high-quality output, thanks to fine-tuned conversion engines and meticulous software design. Smart PDF Converter converts PDF files into a wide variety of files, including Word, Excel, PowerPoint, HMLT, plain text, JPEG, and other file types. It comes with an OCR module for making PDF documents searchable and editable while maintaining original file formats and layouts. Smart PDF Converter also maintains the structure and functionality of active tables, which is great if you are dealing interchangeably with PDF and Excel files.
Smart PDF Converter also includes extra features in addition to PDF conversion. You can use it to encrypt documents with passwords, digital signatures, and permission restrictions for sensitive files. You can also split, merge, insert, and extract pages, insert bookmarks, annotations, and watermarks for all your PDF documents from the same platform.
When you launch the application, you will be greeted by a simple interface with all the functions conveniently located within the window. On this window, the "Convert from PDF option will be selected by default. Click on the "Add Files" link to add PDF files for conversion. To add multiple files, hold down the Ctrl button while selecting each additional file. Click "Open" once you are done.
Uploaded files will be displayed on a small display portion on the application. Next, select the output format from the drop-down list of options. You can also customize settings for each selection via the "Advanced Settings" link within this section.
Select the output destination folder for your converted files in the next section. Confirm all selections and click the "Convert" button to begin. After successfully converting your files, you will be able to locate them in the output folder.

Wondershare PDFelement enables you to perform PDF conversion and creation tasks while giving you total editing capabilities for all your documents. You can fill out your forms, edit scanned documents and make them searchable (thanks to its OCR feature), create PDF files from commonly used file types, and compress PDF files to smaller sizes. The application also comes with an impressive array of security and editing functions, including the ability to add annotations, merge and split PDF files, insert and replace pages, insertion, editing, and deletion of headers, digital signatures, passwords, redaction elements, footers, Bates numbers, bookmarks, watermarks, and hyperlinks on PDF files.
As far as PDF conversion is concerned, PDFelement allows users to convert their PDF documents to all major Office documents, image files, HMTL, EPUB, and plain text files. The application also supports batch and partial conversions, which gives you more control over the conversion process.
Launch PDFelement to begin. You can do so by launching the program from your desktop or by locating the program on your applications list on both Mac and Windows platforms. This opens up the initial application window with four main start-up options. Select the "Convert PDF" icon to begin.
On the next window, you will get an opportunity to upload your files to the program. Click "Add Files" or select "Add Folder" if you have a collection of files for conversion. Click "Open" to upload the files.
With the files uploaded, select the destination file type to convert to from the drop-down menu at the top-right section of the window. You can also enable OCR if you suspect one or more of the uploaded files are scans. Next to the drop-down menu, you can click the small gears icon that represents file-specific conversion settings to change settings for each output file type.
You can also add or remove pages for conversion on each document by clicking the text field under the column titled "Page Range". You can add or remove specific pages for conversion from this area. Additionally, if you want to change the destination folder for your converted files, click "Browse" and change the output folder. Otherwise, take note of the default folder before converting.
Once you are satisfied with the settings, click the "Convert" button to begin. The time each file takes to get converted will roughly depend on its overall size and number of pages. Once the file(s) have been converted, you can head over to the output folder to access the converted files.
Still get confused or have more suggestions? Leave your thoughts to Community Center and we will reply within 24 hours.