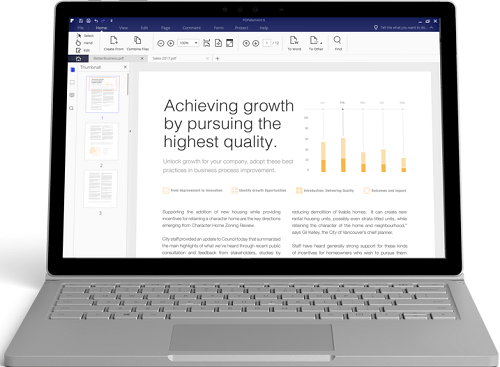
PDFelement - Edit, Annotate, Fill and Sign PDF Documents

The PDF file format is one of the most common formats for sharing and storing digital files. They can be easily viewed from a variety of hardware and software platforms. Despite the many benefits presented by PDF, editing the contents of one can be a bit problematic, especially since this format wasn’t quite developed for text editing. Depending on the contents of the document, you will likely need to convert the PDF file to another format, say Excel, for you to work with tables and worksheets contained therein.
In this article, we take a look at two capable PDF tools that can be used to convert PDF files into another format such as Word or Excel. We look at Nuance PDF Converter Professional and its best alternative and how each fare when it comes to PDF conversions.
Nuance PDF Converter Professional provides a comprehensive PDF editing and conversion platform for individual and business users. It enables users to perform a number of functions on PDF documents, including editing, creating, and converting PDF documents from and to Office documents. It also includes digital signatures, redactions, bates numbering, and document management into its rich arsenal of PDF modification features.
To start, you need to upload your PDF file to the working space on the application. You can upload the file by launching Nuance PDF then navigating to the upload function by selecting File > Open. You can also upload your file by making PDF Converter Professional your default PDF viewer then opening the file naturally.
Once the file has been uploaded, click the File option and select Save As from the drop-down menu. Also, insert the appropriate file destination from the options available, that is, cloud, shared network, or your computer's local storage.
Select the Save as Type option on the same menu. This should present various conversion options such as Excel, Word, and PowerPoint. Select the appropriate option for the file you want to begin the conversion process.
Once the conversion is complete, you will be notified and the converted document should launch automatically in a few moments. Remember that you will need to perform each conversion separately, since this method doesn't support batch processing.

Wondershare PDFelement provides a wide array of services, including PDF conversion and creation. In terms of features, however, PDFelement easily outdoes the PDF tool from Nuance by adding a whole battalion of features on the single-window platform. PDFelement includes rich annotation features plus the ability to add passwords, hyperlinks, digital signatures, bookmarks, watermarks, headers, footers, redact content, insert or replace PDF pages, and compress PDF files.
When it comes to PDF conversion, both applications offer quite decent results. Nuance Power PDF can convert documents to most types of Office documents and even comes with an interface that looks and feels like the MS Word interface. PDFelement also supports Office documents but also adds extra destination file options, including image files and HTML pages. Batch conversions are also a tad easier with PDFelement compared with the Nuance converter.
Launch PDFelement after the installation. The initial window should give you a couple of options for uploading your PDF files for conversion. Click Convert PDF to launch the conversion feature.
On the PDF conversion window, you can select Add Files to upload one or more files for conversion. Alternatively, you can use the drag and drop feature to add files, including multiple files by holding the Ctrl button on your keyboard while selecting your files.
Once the files have been uploaded, locate the drop-down menu at the top next to the OCR activation option and select the file output you want from the list. Click the tiny settings icon next to this drop-down menu to change settings for each of the selected output file types.
You can also select the drop-down menu next to each uploaded file to alter the pages for conversion if you don't need the whole document converted. Also take note of the output folder where your files will be sent. You can change the destination by simply clicking the link and inserting a new location.
Once everything is set, click the Convert button to begin. The time this takes will depend on the size of the uploaded files but should typically take up to a few minutes. Upon completion, the application will send out an onscreen prompt informing with that information. It's as simple as that.
Still get confused or have more suggestions? Leave your thoughts to Community Center and we will reply within 24 hours.